JUSTICE, ONLINE Juried Competition and Exhibition August 27 – September 12, 2020

JUSTICE, ONLINE Juried Competition and Exhibition August 27 – September 12, 2020

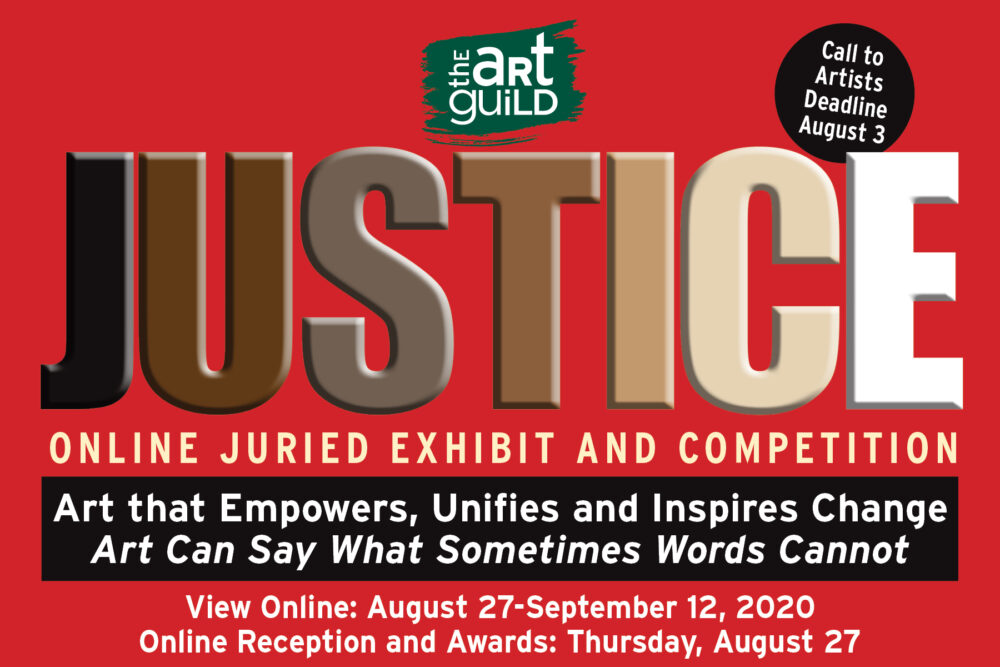
Call to Artists: JUSTICE, Online Juried Competition and Exhibition
Thank you for your submissions
On view: August 27 – September 12, 2020
Artists Awards & Reception: August 27, 7:30 pm


The Art Guild invites all artists, high school and older, to submit artworks for consideration for “JUSTICE” a Juried Competition and Exhibition. Artwork can say what sometimes words cannot. During these difficult times, we have been inspired to look within ourselves, find ways to “speak out,” and express solidarity and compassion. Show us those emotions and what has empowered and inspired you to address social justice.


CRITERIA All styles from abstract to realism are welcome. All works must be original and have been created in the last five years. References used in the creation of the submitted work must be the artist’s own, or copyright-released for use in this work. The curating committee’s decision is final.


MEDIUMS Including but not limited to photography, acrylic, oil, watercolor, digital art, pastel, mixed media, collage, encaustic, etching/prints, or sculpture. (NO MASTER COPIES OR FAN ART)


JUROR OF AWARDS: Seung Lee is a Korean-American contemporary artist. He is currently Director of Fine Arts and Graduate Studies and a professor at Long Island University, Post Campus. He received a BFA in Drawing from Maryland Institute College of Art in Baltimore, Maryland and an MFA in Painting from Pratt Institute in Brooklyn, New York.
His paintings, drawings, and large-scale installations have been exhibited extensively in the US as well as internationally:  China, Italy, France, Japan, and Korea. He has received numerous reviews in the New York Times, Newsday, Kyoto Times, Korea Daily News, Art Word Magazine, Art in Culture Magazine, Art Price Magazine, and Art and People Magazine. He has been featured in “Artist Profiles of Korea and Japan” several times.
Seung Lee has received awards from the New York State Governor, Nassau County Supervisor, Suffolk County Supervisor,  New Jersey City Mayor; and in 2011, Seung was awarded as “Best International Korean Artist” from the Korean Art Association. Seung Lee was invited twice to give a lecture at the National Art Educators Association Conference in NYC: “NY Artist Series: Seung Lee”.  Seung has been a judge in Decentralization Grants for New York Artists, International Documentary Film Festival, Islip Art Museum’s Cottage House Project, and International Nature Art Biennial, Mill Pond House, and many more.
For more information on Seung Lee, visit www.leeseung.com


ENTRIES Digital submissions of up to three (3) images via email to artshow@TheArtGuild.org or uploaded to our website, should be between 1MB and 3MB each. To resize or compress your images, go to PICRESIZE.com

Please be aware that the digital images you send should look as good as possible. These will be the images that will be displayed in our online gallery. Try to photograph your image in natural light, be sure that the image is straight and that there is no glare on glass or varnished surface.
For tips on photographing your art, please click here for a tutorial by TAG member Steve Silberstein.

Works previously exhibited at The Art Guild Gallery will not be considered.

Fill out the form below, upload images and pay below. If you have problems with the uploader, please email your images to artshow@TheArtGuild.org  – with ALL contact information, image titles and mediums. We will invoice you for payment. Submission will not be included in curating without payment.

Label your images as follows: artist’s lastname_firstname_entrynumber_title.jpg (ex: smith_john_1_beachsunset.jpg). Do not use the # or other symbols in the file name. You MUST change the actual name of the image file. Images CANNOT be named “image.jpg” or “fullrender.jpg” or similar – our database overwrites these images. If you email the images, you must include your name, contact information and the title, medium, value, and size in your email.  


ENTRY FEE(S) Registration is required and non-refundable.

  • Members: $20 (1-2 pieces) or $30 (an additional piece).
  • Non-members: $30 (1-2 pieces) or $40 (an additional piece)
  • Student members: $10 (1-2 pieces) or $20 (an additional piece)
  • No more than 3 works per artist


FINALISTS The Selection Committee will review all entries and notify each artist as to the acceptance of the submitted work. The Art Guild has the right, in its sole discretion, to choose which eligible entries will be accepted to be exhibited. All decisions are final. Artists whose work has been selected will be notified after August 11, either by email or here on the website.

AWARDS 1st Place $300 • 2nd Place $200 • 3rd Place $100.

LIABILITY & INSURANCE The Liability Waiver on the entry form must be signed by the artist submitting images for consideration. It is the responsibility of the participating artist to insure or self-insure any work submitted for inclusion in this exhibit.

AWARDS

1st Place $300 • 2nd Place $200 • 3rd Place $100

CALENDAR & IMPORTANT DATES

CALENDAR

DEADLINE: August 3 at midnight EST – Application, images and payment must be received.
ACCEPTANCE/REJECTION NOTIFICATION: After August 11

ONLINE EXHIBIT
• August 27 – September 12, 2020

ONLINE, VIRTUAL  Artist’s Reception & Awards Ceremony
• Thursday, August 27, 7:30 pm

QUESTIONS & TROUBLESHOOTING

QUESTIONS Call 516-304-5797 or email artshow@TheArtGuild.org with “JOY OF COLOR” in the subject line. 

If you have problems with the uploader, please email your images to artshow@TheArtGuild.org  – with ALL contact information, image titles and mediums. We will invoice you for payment. Submission will not be included in curating without payment. 

Emailed images must include your name, contact information and the title, medium, value, and size in your email.

To resize or compress your images, go to PICRESIZE.com

Please be aware that the digital images you send should look as good as they possibly can. These will be the images that will be displayed in our online gallery. Try to photograph your image in natural light, that the image is straight and that there is no glare on glass or varnished surface.

SELLING YOUR ARTWORK

Artwork may be sold directly by the artist with a suggested donation of 20% of the selling price from the artist to The Art Guild. Note, however, that sales may not be made at the exhibition. All work must remain on view for the duration of the exhibit.

Congratulations to the artists listed below!
Your name and the piece(s) accepted are listed.

Allison Belolan, From This Land…A Little History
Lauren Bourguet, One Nation and Send Her Back
Owen Brown, Saint Roch Cures the Plague with Beasts (COVID Tintoretto) 
Kathleen Celestin-Parks, Courage 7053 and Courage Kneels
Susanne Corbelletta, Indivisible with Liberty and Justice for All
Michele Garfield, Untitled
Jimmy Gockel, Change Gonna Come
Heather Heckel, Protest!
Margarita Henriksson, Roman Justice
Susan Herbst, Blackbird Fly
Hsiao-Chu Hsia, False Freedom
Wenchelle Jean*, Dynamic Beauty
Annette Kasle, Liberty at What Price?
Daniel Kasle, Fade
Karen Kirshner, ©Asylum Seekers
Myungja Anna Koh, The Way under Justice
Joan Laufer, Gay Pride
Helen Lesnick, Breonna
Mark Mancher, Working for Justice
E. Craig Marcin, ESSENTIAL
Christopher Martin, Undoing Shame: A Public Display

Maundy Mitchell, Protest Portraits – Trysten and Protest Portraits – Francois
Harold Naideau, Political Woman
Loretta Oberheim, Breonna Taylor
Ann Parry, 17 Minutes, Erica Smegielski, and Interfaith Memorial Service for Haiti
Sophie Raimondo, The Color Blind Revolution and Unity is the Antidote
Jessica Rapaccuiolo, Their Future Matters
Alice Riordan, Pride
Randi Benum Roernes, Best Friends
Kaoru Shibuta, Air
Barbara Silbert, Pillars of Justice
Susan Silkowitz, Say Their Names Valley Stream NY
Barbara Spivak, Supreme Court Justice, School Desegregation and Interracial Marriage and Remembering the Taos Massacre
Joan Stevens, Abstract Justice and Rightfulness
Caitlin Stewart, Hearth Failure
Janet Susin, Black Lives Matter and Only Place to Rest
Manuel Villalobos, Anchor Baby and Anchor Baby in the Third Dimension
Emma Weston*, No More Stolen Sisters and Love Wins?
Angeli Zankel, Blue
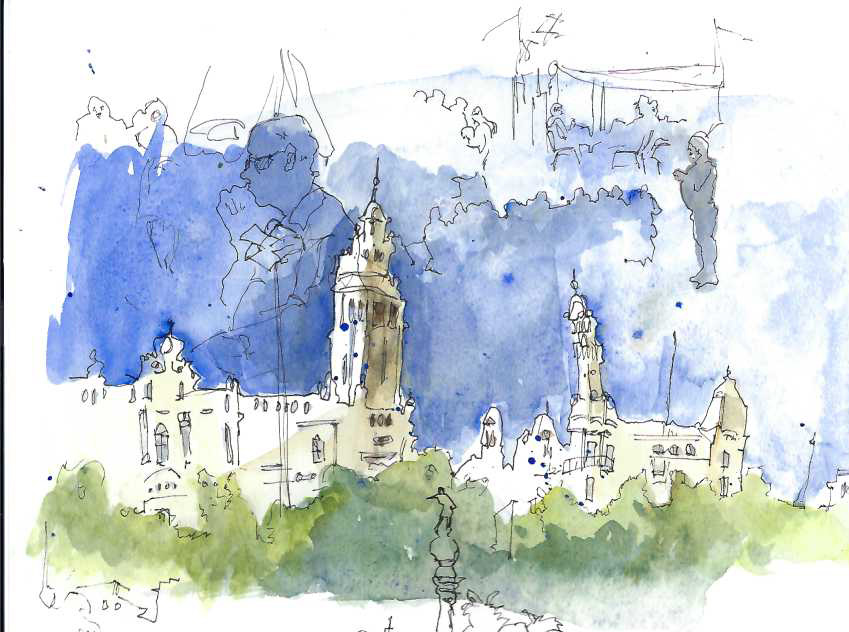
ONLINE From Urban Sketch to Finished Painting Workshop with Stacy Kamin, October 1-3

ONLINE From Urban Sketch to Finished Painting Workshop with Stacy Kamin, October 1-3

ONLINE From Urban Sketch to Finished Painting Workshop, with Stacy Kamin, New Date October 1-3, 2020

12pm – 3pm EST
$325 Members /$360 Non Members

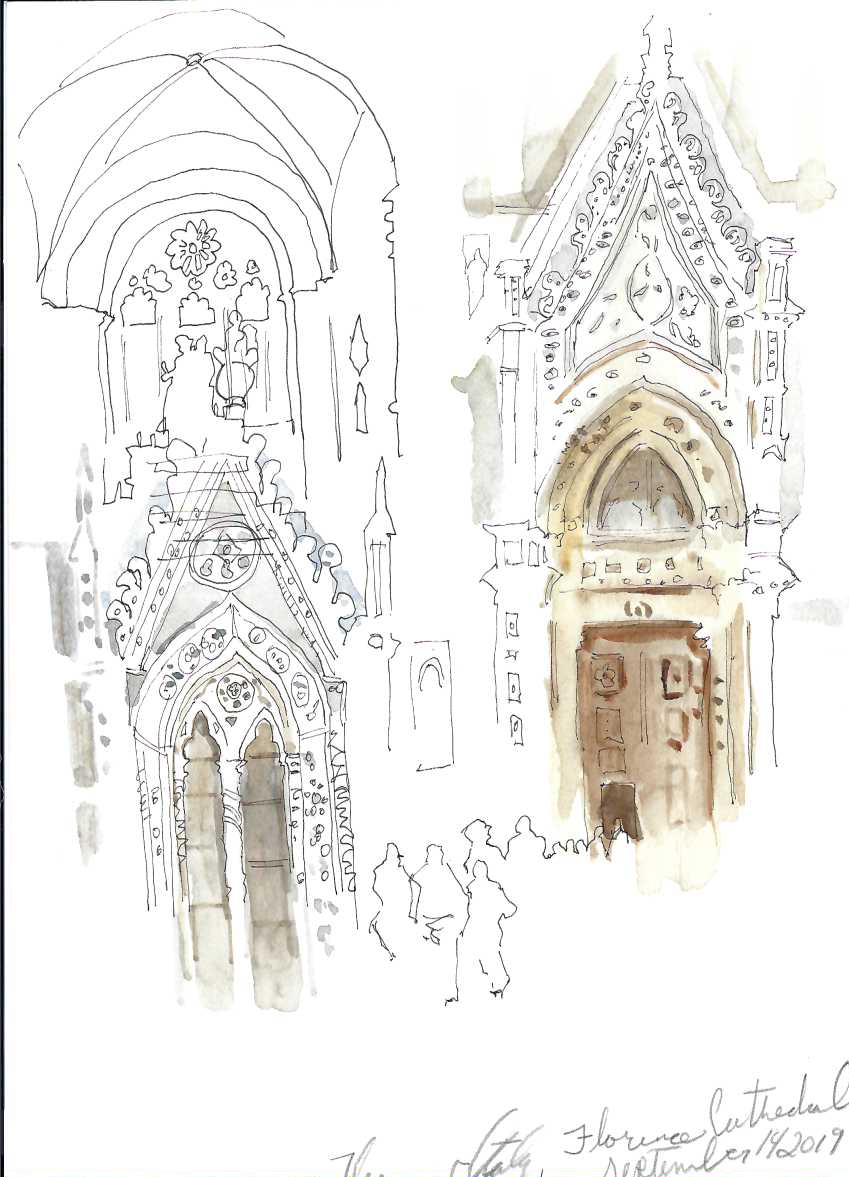
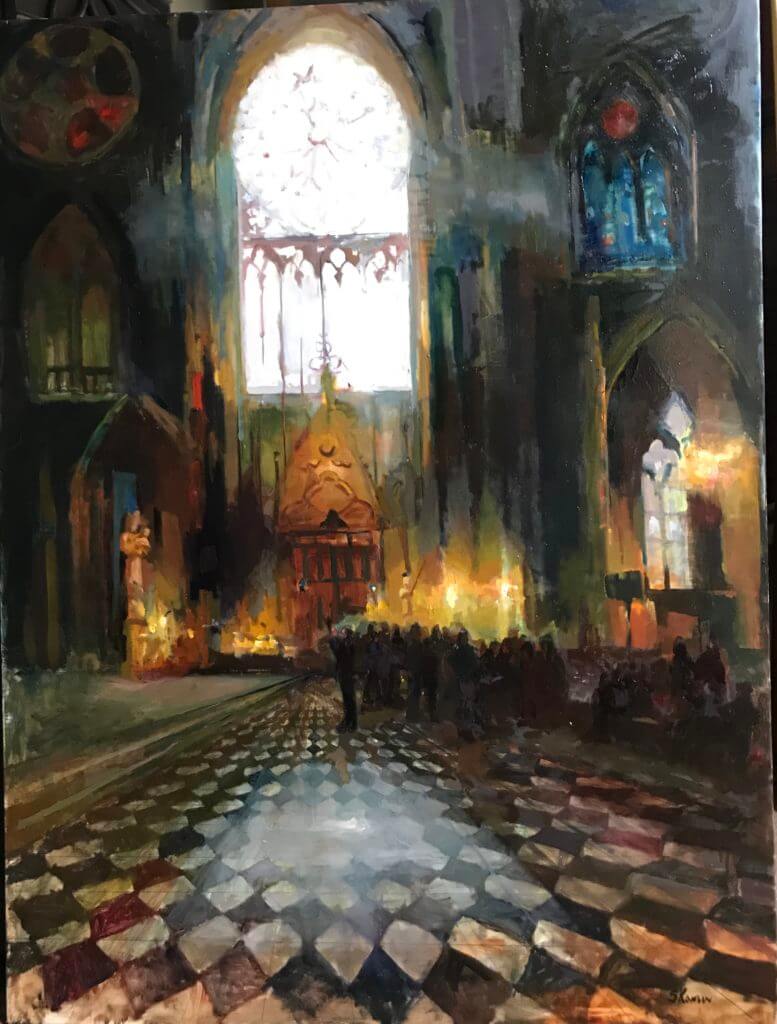
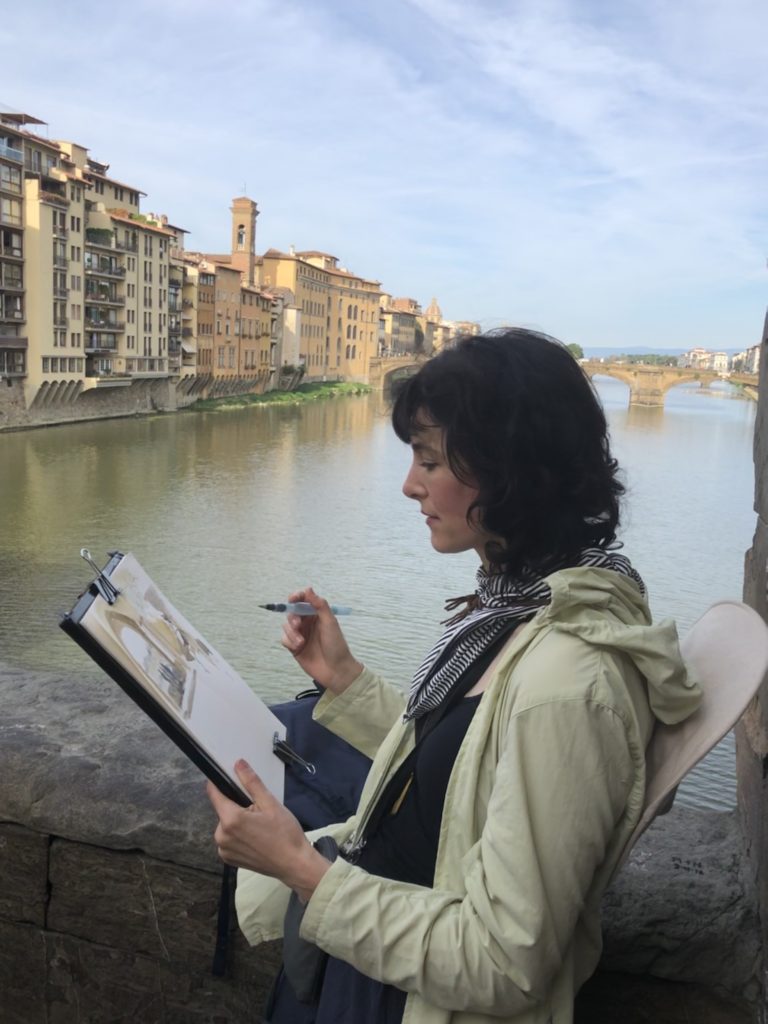
In this unique workshop, Stacy will introduce students into the world of sketching on the streets. Her travels have taken her to the streets of the United States and Europe for years armed only with a sketchbook, drawing pen and travel watercolor kit to gather material as inspiration for studio paintings. Now she will give you all her secrets to traveling light and yet taking your art skills on the road. 

Students will learn how important creating sketches and studying the pictures are. It is ideal to have that personal connection with the subject or place that you are working from. In a perfect situation, I will do sketches on location plus take pictures  creating the connection with your subject .

Day 1: Learn how to plan the composition shapes & values, study the details and color. 

Stacy will guide the students through the process of creating sketches, value studies, color studies. Composition studies. With demos.

Day 2:

Students will create studies on their own and then Stacy will critique (students may watch or continue with their studies). Using photos and sketches from her trav

I will do a demo, using pictures and sketches, and creating studies to work from.

Day 3: 

A continuation of the previous day beginning with critique while students begin to paint.

With Stacy’s warm and generous nature, everyone—regardless of experience—will feel comfortable tackling this exciting subject matter.  

*There will be demonstrations and daily individual critiques; all levels are welcome


Materials List
Block of watercolor paper or mixed media paper
Sketch pad
Small watercolor set.  
Stacy uses French Ultramarine Blue, Sepia Brown, Burnt Umber, Yellow Ochre and Transparent Brown or Burnt Sienna.  ( Windsor and Newton if possible).
For color studies, you may use colored pencils or pastels if you prefer.
A variety of watercolor brushes.  Stacy uses Raphael Kolinsky brushes, but any synthetic watercolor brushes will do.
 
Micron or Staedler black pens in sizes 0.2, 0.3 and 0.5.  Have several in case of breakage.
A variety of pencils.  HB, 2B, 3B
Oil paints:
Titanium White
Cadmium Yellow
Cadmium Yellow Deep
Yellow Ochre
Alizarin Crimson
Ultramarine Blue
Raw Umber
Burnt Umber
Transparent Red Oxide
Ivory Black
Walnut or linseed oil to use as medium
A few brushes for oil painting
One or Two 5×7 canvases suitable for oil painting

Having grown up in the cosmopolitan city of Washington, D.C., Stacy Kamin has lived a life any aspiring artist would envy. Providence brought Stacy into the world with a mother who nurtured her interest in drawing and painting every step of the way. Noted artist and teacher, Jacqueline Kamin, indulged her child’s art supply caprices and enrolled her in children’s classes at the National Gallery at a very young age. Art was alive in this bright artistic spirit, and as Stacy herself says, “Creating images from pencils and paint was like magic to me. I knew early on that I had to be an artist.”

Stacy studied illustration and traditional animation at the Academy of Art University in San Francisco, earning a BA in 2000. After graduation, she interned with a small animation company long enough to realize that illustration was not her calling, although a fascination with capturing movement was. This she would explore through line and paint as a fine artist.

She joined her family in Los Angeles and there found a well-respected Chinese artist, Shuqiao Zhou, to mentor her privately for six years. Zhou’s teachers came from the great Russian lineage of Ilya Repin and Valentin Serov, and through this expressive tradition, imparted a love of paint that is still a hallmark of Stacy’s work.

Drawn to the dramatic effects of Rembrandt, Stacy sought out the instruction of two well-known masters of this knowledge—David A Leffel and Sherrie McGraw. She credits their influence for the startling light that she is able to achieve in her own work. “They introduced me to Abstract Realism, a way of painting so rich that I can’t imagine my education ever ending—I will be a student of this great tradition my entire life.”

This humility coupled with a selfless generosity led to a desire to teach. She presently teaches workshopsfor Bright Light Fine Art nationwide. Recently she taught a figure and still life painting workshop with David A Leffel and Sherrie McGraw at Scottsdale Artist School; in 2019 she conducted a portrait painting class in Noyer’s France; and locally she teaches private workshops in Seal Beach.

In her own words Stacy describes this life-long obsession this way: “I believe art is supposed to evoke emotions and feelings in human beings. When I see a great painting, it touches my soul. Even if I can’t describe what I feel in words, a work of artaffects me profoundly. The reason I never ceasestudying is because the magic of capturing life on a flat surface continues to intrigue me. I want my own work to provoke thoughts and emotions for viewers, so that they too can experience the beauty that captivates me still.”

For more info on Stacy and her work, please visit her website.

Become a member when you register for the workshop.

Use the pull down bar below to choose your payment.


Stacy Kamin Workshop Oct 2020


Simple and Sophisticated Relief Printmaking with Stephanie Navon-Jacobson – October 3-4, 2020

Simple and Sophisticated Relief Printmaking with Stephanie Navon-Jacobson – October 3-4, 2020

Simple and Sophisticated Relief Printmaking
October 3-4, 2020, 10 am -3 pm
A Two-Day Workshop

$200 Members/$235 Non-Members

Please register by September 15, to ensure that workshop will run.

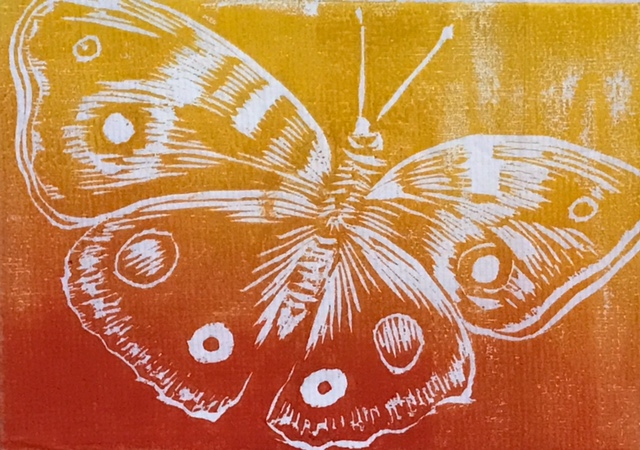
Relief printmaking is any technique where parts of the design are cut away (the negative), and the remaining part (the positive), is printed. Ink is applied by using an brayer or roller on the surface and printed by hand.

We will work with a convenient 4” x 6” size so that it can be used for Holiday greeting cards, thank you notes and more! Through demonstrations, we will explore one color, multiple colors and reduction as time permits. This workshop will use eco-friendly, water-based inks on Soft-Kut, Mastercut  (easy to cut alternatives to linoleum or wood).

This seemingly naïve and childish medium can be very sophisticated. Picasso, Matisse, and many other famous artists experimented with relief techniques. Let your creative juices flow in a supportive, encouraging atmosphere.

Materials list provided at registration.

To register, you may pay securely with your credit card via PayPal or download the form and mail with your check.


About Stephanie Navon-Jacobson: As an artist, I am always observing the world around me. Whether floral, landscape, animal, or figure, abstract or realistic, my images always go back to nature. I am first and foremost a printmaker, although I work in other mediums, too. I am a printmaker who paints, rather than a painter who prints.

I was originally attracted to printmaking in college. I loved the studio community aspect as well as the various techniques. I like to experiment with various techniques. The possibilities seem endless. I also like the element of surprise each time you pull a print.

It is so satisfying to work with people who are new to printmaking or to teach experienced artists a new technique and watch their enthusiasm as they ‘get bit by the printmaking bug.’ Printmaking is such a versatile medium. It can stand alone or be incorporated with other mediums such as oil or watercolor. I encourage my students to add printmaking to their artistic arsenal and incorporate it with their other artistic endeavors.

Swept Away Paint Pour Instructions with Ellen Kanner

Swept Away Paint Pour Instructions with Ellen Kanner

 
Swept Away Advanced Paint Pour Instructions

with Ellen Kanner

Before beginning, refer to Ellen Kanner’s instructions for mixing your paint here

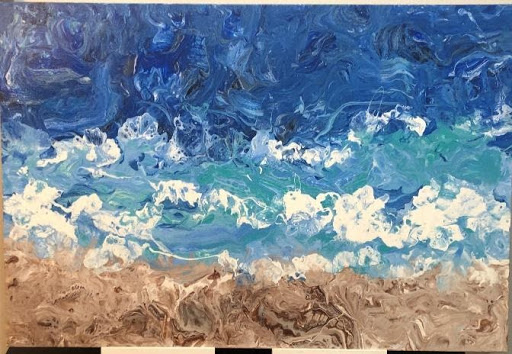
“Swept Away” is a more advanced type of paint pour than what I have described in previous posts.  In this painting I used three sets of paint pours. I created the sand with golds, browns and white.  I created the middle waves with turquoise, darker blue and white.  I created the top section of the ocean with turquoise, dark blue and white.  This was a great deal of preparation, because, as you can see, it was like creating three separate paintings. 

Each section, therefore, had its’ own main layered cup for pouring.  I also left about 1/3 cup of prepared white paint on the side for the waves which I did at the end. 

Instead of flipping each cup for each section, I poured the cup of paint in a horizontal direction.  I did one section at a time. 

Starting with the sand,  I poured the cup of golds, browns and white in a horizontal direction in a few rows where I wanted the sand to be.  I then maneuvered the paint in this area.  

I did the same for each section of the ocean.  It was very challenging, because I had to tilt the canvas in a way that each section of paint wouldn’t cover the other area.  I also wanted the sections to be cohesive and merge with each other.  

Once I was content with the paint, I used the extra white to pour between each section.  I then used a straw and blew in all different directions which allowed me to get the result of the blues going onto the sand and the waves, going up in the air, etc.  I had to view the painting from a distance to see where the waves still needed to go, or where the sand needed to be. This was quite an experience because I didn’t know how it would turn out!!  I was extremely happy with the result. 

_______________________

About Ellen Kanner:

   Ellen Kanner is a fluid acrylic artist, creating specialized acrylic paint pours.  Currently, I show my work in galleries in New York City and Long Island.  I also teach workshops.   My work is commissioned, and I create customized projects for clients.  My art is inspired by emotions and nature and are organic and one of a kind. 

Prior to using this medium, I spent a decade using ceramics and stone.  Since discovering the paint pour technique, it has become my true passion.

Her work can be viewed here:

Instagram:   el_paintworks

Website:     www.elpaintworks.com

Email:         elpaintworks@gmail.com

TAG at Home

[catlist name=tag-at-home]

Paint Pour Recipe with Ellen Kanner

Paint Pour Recipe with Ellen Kanner

 
Paint Pour Recipe & Basic Techniques

with Ellen Kanner

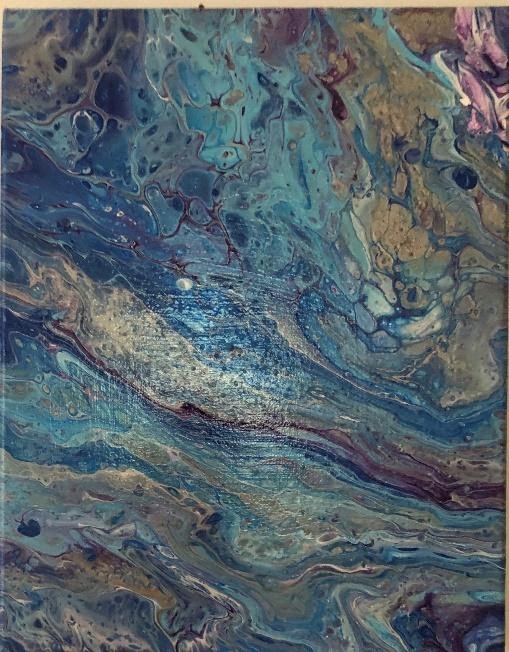
Before starting a paint pour, one must have the correct supplies and the correct recipe.  The recipe I use can be altered based on the results one desires.  As you progress, you may decide that you want different results, in order to have contrasts in your painting.  From my experience, I like to use the following described recipe.  

Supplies:

  • Acrylic Flow Paint, white and 3-4 other colors
  • Flood Floretrol Latex Based
  • Isopropyl Alcohol 91%
  • Silicone Treadmill Oil 
  • Plastic cups & stirrers
  • Gallery traditional canvas
  • Propane torch
  • Krylon

I start by using Acrylic Flow Paint.  I decide which colors I want to use on my canvas.  I always use white paint and usually 3-4 colors.  If I’m using three colors plus white, I place (4) 12 oz. plastic cups on my tarp covered table.  I place stir spoons in each cup.  

I start by mixing Acrylic paint to Floretrol in a 1:3 ratio.  I use the brand, Flood Floretrol Latex Based.   My first step is putting 1/3 cup of each color, including the white into individual cups.  I then add 2/3 cup of Floretrol into each cup. I stir the mixture around 50x making sure that all paint is mixed well.  We now have 4 cups of mixed paint of individual colors.  I use the stirrer to check the consistency which should flow like melted ice cream off of the stick.  If too thin, I add more paint.  If too thick, I add more Floretrol.  This step can actually take around ½ hour and it’s very important for the painting. 

The next step is adding Isopropyl Alcohol 91% to each color, except for the white.  I add ½ tsp to each color and stir 10x slowly.  The alcohol assists in creating the cells so this is why I don’t stir it quickly or it might dissolve.  

I place my Gallery Traditional Canvas onto four or six cups depending on the size of the canvas, so that it’s balanced throughout.   I generally place the cups on each corner under the canvas.  

I then put 4-6 drops of Silicone Treadmill Oil into each colored paint cup, excluding the white.  With the stirrer, I make a simple x into this mixture.  I do not stir all.  If you stir the silicone, you will lose the cells.  

BASIC TECHNIQUE

I take a different large cup and I start to layer the white and the three colors, such as a sand art item.  To me, it doesn’t matter which color I layer with, but the first layer is going to go onto the canvas last, so I generally use white as my bottom layer of paint (meaning the first color I pour into the empty cup is white).  I pour approximately 2-3 tbsp of paint for the white.  I then proceed to pour from each paint cup into the main cup and I keep alternating the colors (including the white).  I don’t necessarily pour in the same order or the same amount.  I just do this part by sight.  I may pour 1 tbsp of blue and then a few drops of green and a bit of white and then on top of that a larger amount of green, etc.  There is no science to this part.  I keep going until this 12 oz cup is filled to the top.  This also depends on the size of the canvas, so as to alleviate waste.                           

Then, I place the full cup on the table and I pick up the canvas.  I flip the canvas over so that the cup is towards the center of the white side of the canvas. The bottom of the canvas is facing up towards me. Holding the paint cup very firmly, I very quickly flip the canvas and the cup (attached) with my hold right side up.  At this point, the face of the canvas is facing up towards me and the cup is flipped over onto the canvas.  I hold the cup tightly on the board so no paint seeps out.  This part is very tricky.  If I don’t have a heavy hand on the cup, the cup can slip and the paint will go all over the place.  I quickly place the canvas onto the four cups on the table and make sure that the canvas isn’t tilting and the cups are even underneath.  I find this part above to be the hardest.  It’s a very quick step. 

Now, I gently and slowly lift the cup off of the canvas so that paint slowly pours out of the main cup.  One can also shift the cup to the right or the left if desired.  Once the cup is empty of the paint, I put the cup down.  I gently pick up the canvas so that the paint flows around the canvas and over the sides.  I don’t ever touch the paint or the top of the canvas. I’m tilting the canvas with my two hands on the underneath part so as not to get fingerprints on the painting itself.  

I then begin to see the beautiful cells and colors flowing and merging together in a very organic style.  After tilting the canvas in all directions and I’m satisfied with the direction of the paint, I place the canvas back onto the four cups.  

I pick up my Propane Torch.  This is the same torch used to make crème brulee.  (Lots of food references in this article!)  I point the fire towards my canvas in all the different areas.  I keep the torch about 1 ½ feet from the canvas for obvious reasons!  I don’t get the fire too close to the paint, or it will burn the paint.  I’d say I use the torch for about 30 seconds.  The fire helps the cells and the colors emerge. 

Your paint pour is now complete.  I leave it to dry on the cups so it is balanced.  If you see a tiny air bubble, you can take a very thin brush or even a toothpick to poke the bubble.  It takes at least three days for the painting to fully dry. Once dry, I spray it with Krylon as a protection. 

This is the basic formula for my paint pours.  There are many other ways to do paint pours, using all types of materials.  Some people use balloons, plastic wrap, straws and even blow dryers.  It’s a lot of fun and always a surprise at the end.  Never predictable.  So, if you enjoy abstract art, you’ll love this!!! 

_______________________

About Ellen Kanner:

   Ellen Kanner is a fluid acrylic artist, creating specialized acrylic paint pours.  Currently, I show my work in galleries in New York City and Long Island.  I also teach workshops.   My work is commissioned, and I create customized projects for clients.  My art is inspired by emotions and nature and are organic and one of a kind. 

Prior to using this medium, I spent a decade using ceramics and stone.  Since discovering the paint pour technique, it has become my true passion.

Her work can be viewed here:

Instagram:   el_paintworks

Website:     www.elpaintworks.com

Email:         elpaintworks@gmail.com

TAG at Home

[catlist name=tag-at-home]