The Great Rainbow Hunt: A Community Project

The Great Rainbow Hunt: A Community Project

The Great Rainbow Hunt 

Community


Download a flyer here: TAG Rainbow Hunt


We saw this idea on Facebook and thought it would be perfect for students, parents, artists & seniors!

Have a neighborhood-wide rainbow 🌈 hunt!

  1. Using any supplies that you have on hand, create a rainbow with your children or on your own. 
  2.  Hang the rainbow up somewhere visible from your front yard

– Front door or window

– Mailbox

– On a yard sign

– On a tree

– Anywhere passersby can see!

3. Tell your friends & neighbors what you’re doing! Share a photo of your rainbow and information about the Rainbow Hunt on your social media or post a note somewhere visible. The more rainbows, the more fun!

4. Go for a Walk starting the week of 3/21 and count how many rainbows you see. The number might change each week! Keep your distance!

5. Tell us what you find on our FB (@TheArtGuild) & IG (@artguildpw)

To participate, all you have to do is put a rainbow in your window, on your door or in your front yard. You can print it, color it, or go all out and create a masterpiece. Whatever you want!

Tell your friends & neighbors what you’re doing by including a note somewhere visible and by posting on social media.

Beginning 3/21, get outside, walk around and see how many rainbows you can find!

Then let’s watch and see how many more rainbows start popping up!

#artapart
 

Get Your Eyes in Shape by Rob Silverman

Get Your Eyes in Shape by Rob Silverman

The Art Guild, Rob Silverman, art lesson, portrait, portraiture  

How to Get Your Eyes in Shape  
with Rob Silverman

1. THE EYE

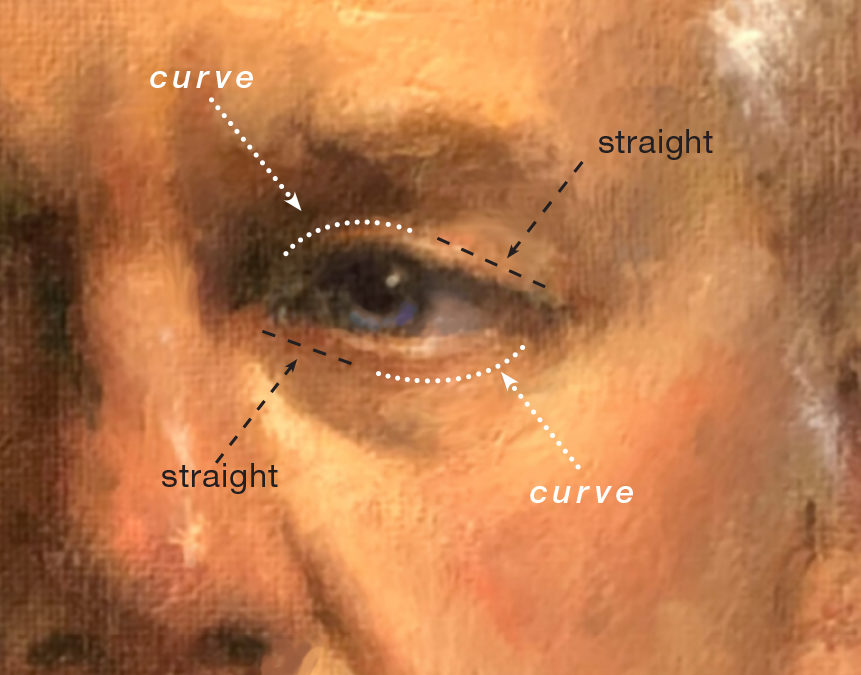
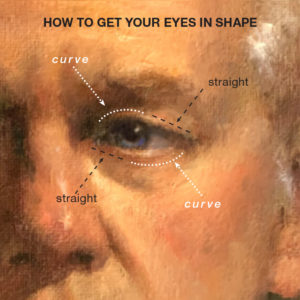
The eye is not a symmetrical almond shape like the CBS eye or almond, but rather an asymmetrical combination of a joined curve and a fairly straight edge.

2. UPPER LID

The highest point of the upper lid is on the inside and curved. The rest of the upper lid (on the outside) is relatively straight. 

3. LOWER LID

The lowest point of the lower lid is on the outer side and curved. The rest of the lower lid (on the inside)  is relatively straight.

_______________________

About Rob Silverman:

Rob Silverman’s innovative techniques have been featured in American Artist Workshop Magazine and The Art of the Portrait, the official publication of the Portrait Society of America. His work has appeared at Crosby Street Gallery and Spring Studio Gallery in Soho, the Art League of Long Island, Edward Hopper House, The Art Guild of Port Washington, The National Art League, the Lockwood-Mathews Museum, as well as the National Arts Club and Salmagundi Club.

How to Create Luminous Eyes by Rob Silverman

How to Create Luminous Eyes by Rob Silverman

Luminous eyes, Rob silverman, Portraiture, Portraits 

Rendering a More Luminous Iris  
with Rob Silverman

Light and luminosity help create a more realistic eye.

1. HIGHLIGHT

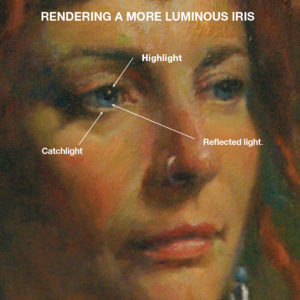
Highlight in the iris should appear at the upper right of the pupil if the light source is coming from the upper right.

2. CATCHLIGHT

Catchlight appears on the lower lid at the opposite direction from the light source. This reflects light into the lower left portion of the iris

3. REFLECTED LIGHT

The lower left portion of the iris is lighter than the rest of the iris—creating a luminous effect. It is being lit by the ‘catchlight’ at the left portion of the lower lid.

_______________________

About Rob Silverman:

Rob Silverman’s innovative techniques have been featured in American Artist Workshop Magazine and The Art of the Portrait, the official publication of the Portrait Society of America. His work has appeared at Crosby Street Gallery and Spring Studio Gallery in Soho, the Art League of Long Island, Edward Hopper House, The Art Guild of Port Washington, The National Art League, the Lockwood-Mathews Museum, as well as the National Arts Club and Salmagundi Club.

Acrylic Paint Pouring with Ellen Kanner – March 24

Acrylic Paint Pouring with Ellen Kanner
March 24, 2020, 10:30am-12 pm
$50

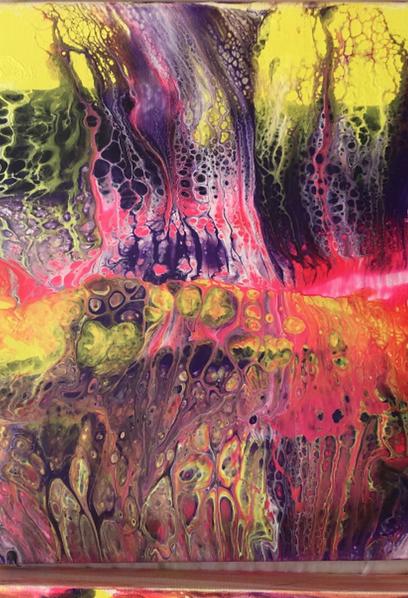
What is Acrylic Paint Pouring?

The process of paint pouring entails using acrylic paint, resin, several oil mediums and (a little) propane gas which creates the beautiful and unique cells. The surface is tilted in different directions to let the paint flow and the colors interact in unpredictable, yet always interesting ways.

Ellen will start by discussing different techniques of paint pour and showing some examples.  She’ll explain the science behind the paint pour method and show some creative techniques people are using.  

Students will then create a lovely paint pour which takes around 1 hour 15 minutes.

You will need to leave your paintings here to dry on a flat surface for about 4 days (or they’ll continue to “pour”).

Please bring plastic non-latex gloves. We’ll have all the other materials for you! 

Ellen Kanner is a fluid acrylic artist creating specialized paint pours. Her paintings are shown in galleries in NY and Long Island. Ellen has previously worked in ceramic and stone.

For more about Ellen and to see her work, visit her Instagram account.

Acrylic Paint Pour – Kanner – March 2020
Phone Number